Sunday 25 October 2020

Understanding the Stages of Tooth Decay

Everyone has heard of tooth decay, but did you know that it occurs in five distinct stages? Each stage causes increasing damage to the tooth and causes increasing discomfort to the patient. Unfortunately, tooth decay is an all-too-common consequence of the average sugary diet, though it is easily preventable with good oral hygiene. Soundview Family Dental believes that knowing the early stages of tooth decay can help you prevent the need for fillings, and help avoid tooth loss too.
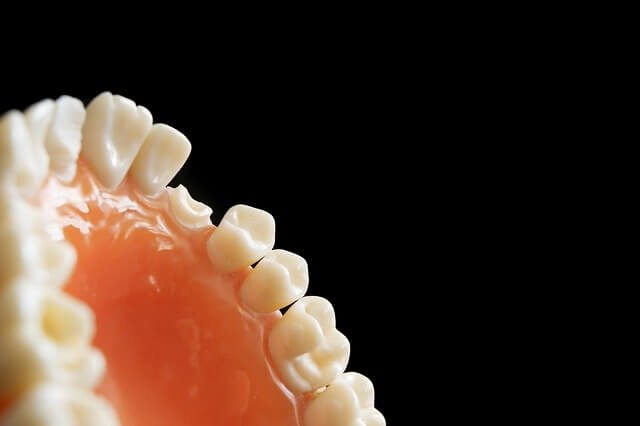
 

stages of tooth decay


Stage One: White Spots (Demineralization)

The first stage of tooth decay is usually painless and can be hard to detect.  This is when plaque starts building upon the surface of the tooth.  Plaque is filled with bacteria.  This bacteria begins to weaken the enamel and break down minerals in the tooth, such as calcium. This is called “demineralization.” When this demineralization occurs, white, yellow, or brown spots appear on the surface of the tooth. While this may be noticeable on front teeth, many people often miss these spots on the back molars. In this early stage, you can reverse the damage with good oral hygiene and prompt dental care, such as in-office fluoride treatments.


Stage Two: Enamel Decay

If the white spots in stage one remain untreated and oral hygiene does not improve, your tooth decay will progress to stage two. During this stage, the buildup of plaque begins to break down the enamel of the tooth. This leaves the enamel soft and porous, which can contribute to tooth sensitivity. This is often one of the first physical signs of tooth damage. Once you’re in stage two, there is no way to reverse the damage done and your dentist must treat the decay, often with a dental filling.


Stage Three: Dentin Decay

If the sensitivity is not enough to signal that you need to see the dentist, and the dental damage continues to go untreated, tooth decay will progress to stage three. During this stage, the bacteria and decay enter the dentin layer of the tooth. The dentin layer is much softer and more sensitive than the enamel. As the decay progresses into the dentin, you will likely experience much more tooth sensitivity, and chewing food may become painful, especially around the infected tooth. While in some cases, a large filling may be enough to address this tooth decay, often a crown is recommended at this stage.


Stage Four: Pulp Infection

The dentin layer protects a soft mass filled with nerves, known as the pulp. If a tooth is not treated during stage three, the bacteria and decay breaks through the dentin, entering the pulp of the tooth. When the pulp becomes infected, this damages the nerves in the root of your tooth and can cause extreme tooth pain, which can make chewing extremely painful. Your dentist may refer to this as a root canal infection. When a root canal infection occurs, the course of treatment is a root canal, where your dentist will drain the tooth, remove all infected tissue with specialized tools, fill in the root canals and large cavity created in the tooth, and cover the remaining tooth with a crown. In extreme cases, there may not be enough of the tooth to save and an extraction is necessary.


Stage Five: Abscess Formation

The final stage of tooth decay can be extremely serious and threatening to your general health. When the decay within the canal is left untreated, it progresses to the base of the root. Once there, the bacteria and infected tissue can spread into surrounding tissue, such as the gums, jawbone, tongue, and even the bloodstream. This can cause a buildup of bacterial pus, known as an abscess. This stage is extremely painful and, if left untreated, can make you sick and lead to life-threatening complications. When you reach this stage, you will require surgical intervention and are likely to lose the tooth.


Preventing Cavities and Dental Decay

The good news is that you can stop the onset of tooth decay in its tracks with good oral hygiene and some simple lifestyle changes. Ways you can do this include:

  • Good Oral Hygiene – Brushing your teeth twice daily and regular flossing can help to remove the bacteria and plaque responsible for tooth decay. Using a regular mouthwash can also help to remove bacteria you can’t reach with brushing and flossing.
  • Attend Regular Dental Visits – Visiting your dentist at least twice a year for checkups and cleanings will help keep your teeth healthy. Your dentist can also detect early signs of decay and help you reverse the damage before it reaches stage two or higher.
  • Ask About Fluoride Treatments – The application of fluoride treatments can help to reverse mineral loss during stage one. Talk to your dentist about the benefits of a fluoride treatment.
  • Reduce Your Sugar Intake – Eating a diet high in sugar content can increase your risk of tooth decay. Sugar feeds the bacteria responsible for the decay. If you eat a sugary treat, it is a good idea to brush your teeth as soon as possible to help remove the sugar or at least drink a big glass of water.
  • Stay Hydrated and Avoid Dry Mouth – Drinking water on a regular basis helps to keep your body hydrated and helps with dry mouth. When your mouth is dry, saliva production may be low. Saliva helps to wash away bacteria and is essential for healthy teeth. If you notice you suffer from dry mouth on a regular basis, it may be a good idea to talk with your dentist or physician to see if there is something you can do to treat this.


For more information about the stages of tooth decay and how you can prevent it, call Soundview Family Dental today or visit us online. We want to help you keep your healthy smile and avoid dental decay, pain, and possible tooth loss.

Understanding the Stages of Tooth Decay is available on: Soundview Family Dental


Soundview Family Dental
201 5th Ave S Suite 103, Edmonds, WA 98020
(425) 563-6360
Our Edmonds Location

Sunday 18 October 2020

DIY Homemade Mouthwash Recipes You Can Easily Make

When it comes to oral hygiene, you know that brushing and flossing is essential, but what about mouthwash? According to the American Dental Association, the use of mouthwash may be a helpful addition to a daily oral hygiene routine for some people. However, not all mouthwashes are the same. While a stroll up the oral care aisle in your favorite store offers a wide variety of mouthwash choices, you still may not find one that works for you. The good news is, Soundview Family Dental shows you how making your own mouthwash at home is easy and gives you the ability to target your specific oral concerns.


Why Do You Need Mouthwash?

So how does mouthwash help promote good oral hygiene? Mouthwash offers the ability to reach areas of your mouth that brushing and flossing may miss. Different mouthwash ingredients target different things. For example, mouthwashes can help reduce or control plaque and gingivitis, help treat bad breath, whiten teeth, and help prevent tooth decay. Some mouthwashes also cater to people with dry mouth, sensitive teeth, or mouth sores.

Benefits of Making Your Own Mouthwash

When it comes to over-the-counter mouthwashes, ingredients differ greatly. In many cases, the ingredient label contains ingredients that are hard to pronounce and make it difficult to understand what you are really buying. In addition, many over-the-counter mouthwashes contain alcohol. Unfortunately, while alcohol-based mouthwashes may feel cleansing and refreshing, they can dry out the mucosa in your mouth, leading to dry mouth and increasing your risk of cavities. In addition, if you have restorative work, alcohol-based mouthwashes can damage composite restorations.

Making your own natural mouthwash at home allows you to target your specific dental concerns. You can use ingredients you are familiar with while leaving out ingredients that may contribute to discomfort. Making homemade mouthwash is easier than you think, and you may already have all the ingredients you need at home. These three recipes offer some examples of homemade mouthwashes that naturally boost your oral hygiene routine.


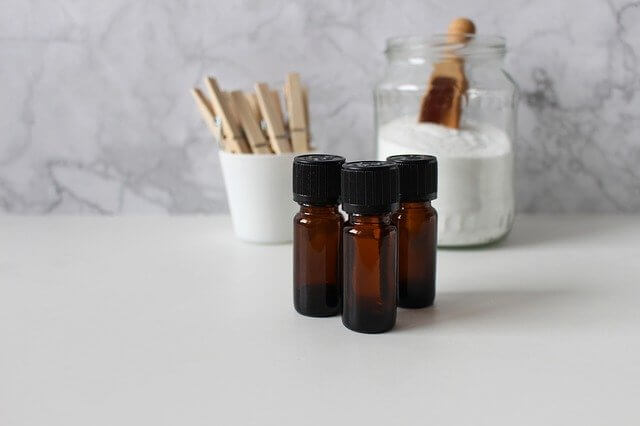
basic homemade mouthwash


Recipe #1: Basic Homemade Mouthwash

This basic recipe includes ingredients that can help reduce dental inflammation, destroy acid-forming bacteria, help balance the pH in your mouth, and surround your teeth with beneficial minerals, all while tasting great.

Ingredients

  • 1 tsp. salt
  • 1 tsp. baking soda
  • 1 tsp. xylitol (optional)
  • 8 to 10 drops of essential oils (optional)
  • 20 drops of mineral drops (optional)
  • 1 cup distilled water
  • Clean, empty bottle with lid

How to Make

To make this mouthwash, simply add all ingredients to your empty bottle and shake well until the salt and baking soda completely dissolves. With this recipe, the salt works to promote healing and reduce inflammation in the mouth, as well as help preserve your mouthwash. The baking soda helps to alkalize your mouth which leaves it less hospitable for cavity-causing bacteria.

While xylitol is an optional ingredient, the use of this sweetener is safe for your teeth and gives a more palatable flavor to your mouthwash. Adding essential oils not only flavors your mouthwash, but it also works to disrupt the bacterial cell wall and reduces the risk of plaque buildup, cavities, gingivitis, and periodontal disease. In fact, a 2004 study in the Journal of the American Dental Association showed that, in patients that routinely brushed and flossed, the use of essential oil in a mouthwash provided a clinically significant benefit in reducing plaque and gingivitis. Some good essential oils for use in mouthwash include clove, peppermint, spearmint, and tea tree. The addition of mineral drops, such as Purium Ionic Elements, helps surround the teeth with beneficial minerals often lost to acidic bacteria and plaque build-up.

How to Use

Before use, shake the bottle well to mix ingredients thoroughly. After brushing your teeth, pour a small amount into a cup and swish around your teeth for 20 to 30 seconds. Once complete, gargle for a few seconds to help clean the back of your mouth and throat. Spit mouthwash in the sink when complete.


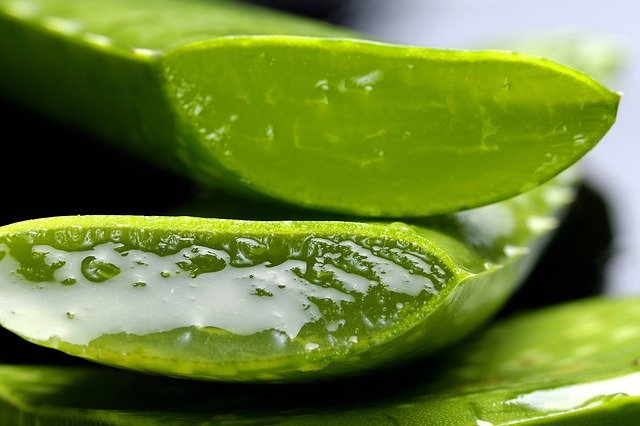
aloe vera homemade mouthwash


Recipe #2: Aloe Vera Mouthwash

This homemade mouthwash takes advantage of the oral hygiene benefits offered by aloe vera, particularly for those with periodontal disease. In fact, a 2016 study in the Journal of Clinical and Experimental Dentistry showed that aloe vera had equal effectiveness to Chlorhexidine, a commonly used antimicrobial. Researchers determined that aloe vera is effective at curing and preventing gingivitis.

Ingredients

  • ½ cup aloe vera juice
  • ½ cup distilled water
  • 1 ½ tsp baking soda
  • 3 drops of essential oil of choice (optional)
  • Clean, empty bottle with lid

How to Make

Making this mouthwash is easy. Simply add all ingredients to your bottle, close securely with lid, and shake well until baking soda dissolves and all ingredients combine. You may add essential oils as desired to adjust the taste of your mouthwash. Because aloe vera requires refrigeration, store your mouthwash in the refrigerator between use.

How to Use

Shake your mouthwash before each use to combine ingredients. Pour a small amount into a glass. Swish the mouthwash around your teeth for 20 to 30 seconds, finishing with a short gargle to clean the back of your mouth and throat before spitting the mouthwash out. Do not swallow the mouthwash.


essential oil homemade mouthwash


Recipe #3: Essential Oil Mouthwash

As we have already explained, essential oils work well to reduce plaque and gingivitis and are a great addition to your regular oral hygiene routine. This homemade mouthwash is simple and uses only two ingredients.

Ingredients

  • 10 to 20 drops of essential oil
  • 1 cup distilled water
  • Clean bottle with lid

How to Make

Simply add the water and the desired amount of essential oil drops for flavor and shake well.

How to Use

Shake before use. After brushing your teeth, pour a small amount into a glass and swish in your mouth for 20 to 30 seconds. Gargle before spitting out to clean your tongue and throat.


Use Caution When Looking for Homemade Mouthwash Recipes

A simple search on Google for homemade mouthwashes will give you a variety of results. But not all mouthwash recipes are a good idea. For example, you may find recipes that include apple cider vinegar. While this powerful ingredient is great for fighting bacteria, it is also very acidic and can damage the enamel of your teeth. At Soundview Family Dental, we do not recommend this ingredient for your homemade mouthwashes. If you find a recipe and still have questions, our general dentistry specialists will be happy to go over your recipe and help you find the right mouthwash for you. Give us a call today at 425-563-360 or visit us online.

The following blog post DIY Homemade Mouthwash Recipes You Can Easily Make is courtesy of: https://www.soundviewfamilydental.com


Soundview Family Dental
201 5th Ave S Suite 103, Edmonds, WA 98020
(425) 563-6360
Our Edmonds Location
Understanding the Stages of Tooth Decay

Everyone has heard of tooth decay, but did you know that it occurs in five distinct stages? Each stage causes increasing damage to the tooth...